On This Page
If you've worked with a content team before (or if you're like me and you want to get everything close to perfect) you know that no one hits publish just to check what their changes look like.
I mean, if you're on WordPress, it's probably not too much of an issue—and you can quickly hit unpublish. But if you're on Jamstack, all sorts of things happen when you hit publish, a webhook probably gets fired off, a new deployment starts, your site gets rebuilt, a social media post automatically gets posted, everyone freaks out — total chaos.

So, what if you could see your changes in realtime in your SvelteKit app, without having to hit publish in Sanity Studio? Well, you can! And it's not that hard to do, but it takes a little bit of setup.
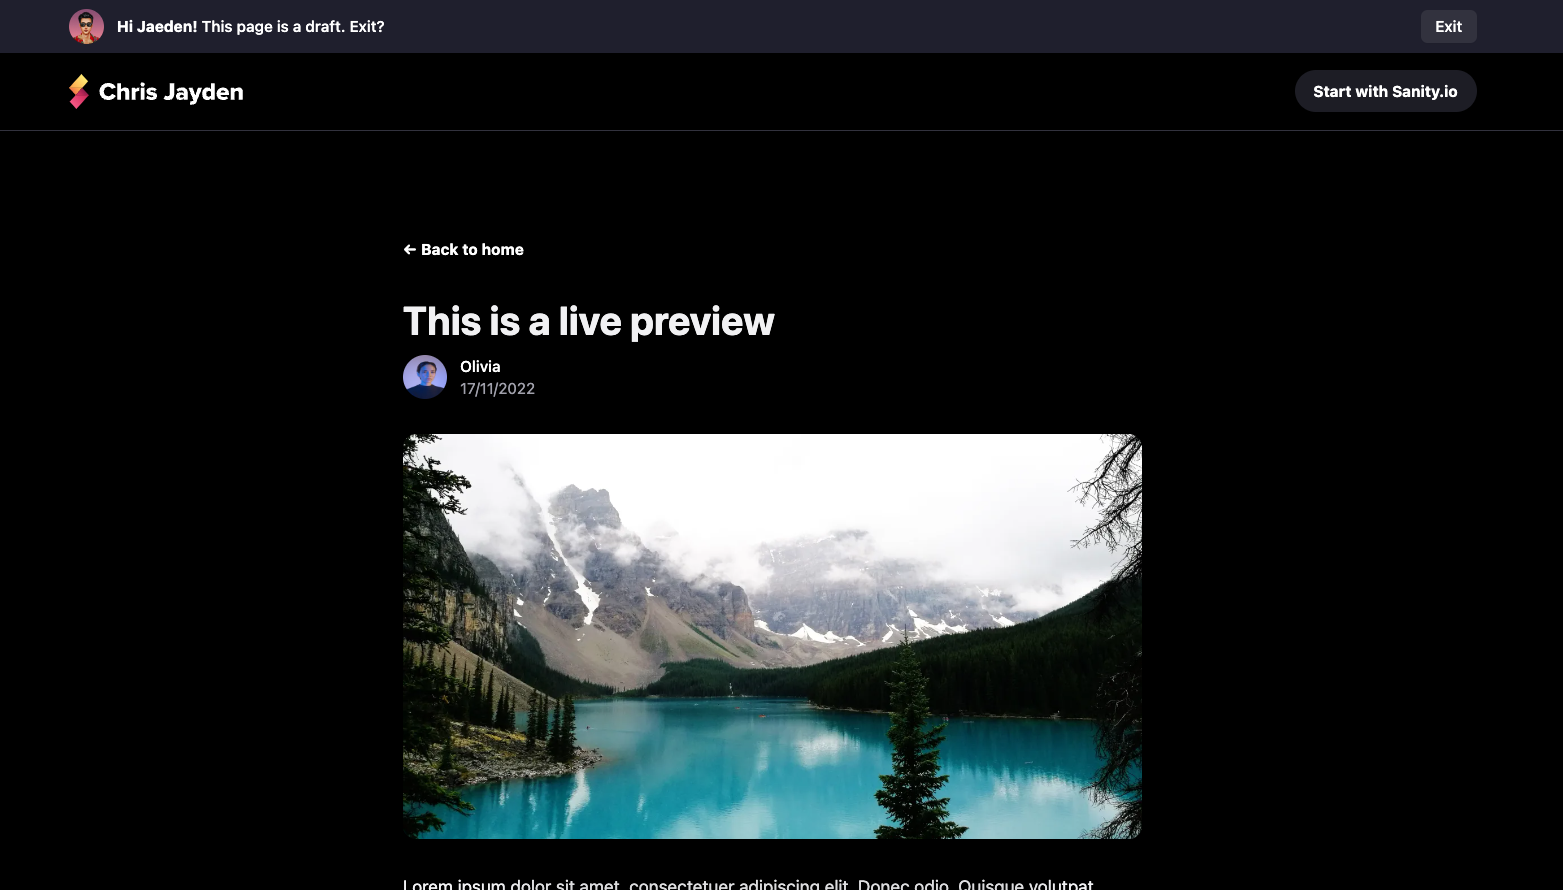
The cool thing is, this will set a cookie. Allowing us to do cool things on the frontend such as showing a banner that says "This page is a draft".
The final code for this article is available on GitHub. Use it as a reference or as a starting point for your own project. Please note that the code that takes care of the preview functionality is heavily inspired by Sanity's Next.js toolkit. If there's enough interest, I can take a look at making it a separate package for SvelteKit users.
Requirements
This guide assumes you're using Sanity V3, but with a little bit of tweaking it should work with V2 as well. Additionally you will also need:
- Beginner to somewhat intermediate knowledge of Javascript, SvelteKit and Sanity.
- Node.js and NPM, Yarn or PNPM installed.
- Your SvelteKit app needs to use GROQ for fetching data from your Sanity.io project.
Installing Sanity.io and SvelteKit
First, we need to create a new SvelteKit project. If you already have a project, you can skip installing SvelteKit.
I personally like to install SvelteKit using the Vite scaffolder. Because it supports Svelte, SvelteKit and a bunch of other cool stuff. But you can also use the official SvelteKit scaffolder (which is npm create svelte@latest my-app).
	npm create vite@latest
# or yarn create vite
# or pnpm create vite
Then follow the prompts, make sure to select Svelte and SvelteKit. Using Typescript is highly recommended.
Follow my guide on how to set up Sanity.io Studio V3 with SvelteKit to set up your Sanity.io project and embed it in your SvelteKit app.
Sanity.io uses React for their Studio, so we need to make sure that we have it installed in our project. You can do that by running the following command:
	npm install react react-dom && npm install --save-dev @types/react @types/react-dom

# or yarn add react react-dom && yarn add --dev @types/react @types/react-dom
# or pnpm add react react-dom && pnpm add --dev @types/react @types/react-dom
The obstacle is the way
The first challenge I ran into was that SvelteKit—unlike Next.js—doesn't have a built-in preview mode. I decided to take a look at how Next.js implements preview mode and see if I could do something similar. I'm not going to lie, Next.js internals were a little bit overwhelming and it took me a couple of minutes to realize the concept of preview mode. Turns out it's pretty simple.

The second challenge was that Sanity conventiently provides a toolkit for Next.js. But, I couldn't find anything similar for SvelteKit. But I guess us Svelte folks are use to that by now 😆 (I'm not throwing shade on React or the Sanity team—but let's face it—React' ecosystem is just better).
Creating the preview mode
Let's start by creating the preview mode. Besides the Groq query, this is not Sanity specific, and can be used for other CMS's as well.
In Sveltekit, any file in the routes directory can be an endpoint. But I like to keep specific functionality such as this in a separate folder. So, let's create a new folder called api in src/routes and inside that folder, create a new folder called preview.
Inside the preview folder, create a new file called +server.ts. This will be our preview endpoint. You can learn more about +server files in the SvelteKit docs.
Now, add the following code to the file. This will set a cookie that will be used to determine if the user is in preview mode and redirect them to the page that they're trying to preview.
	import type { RequestHandler } from './$types';
import { env } from '$env/dynamic/private';
import { setPreviewCookie } from '$lib/utils';
import { getSanityServerClient } from '$lib/config/sanity/client';
import { postBySlugQuery } from '$lib/config/sanity/queries';
import { error, redirect } from '@sveltejs/kit';

export const GET: RequestHandler = async ({ url, cookies, setHeaders }) => {
	const allParams = url.searchParams;
	const secret = env.VITE_SANITY_PREVIEW_SECRET;
	const incomingSecret = allParams.get('secret');
	const type = allParams.get('type');
	const slug = allParams.get('slug');

	// Check the secret.
	if (secret !== incomingSecret) {
		throw error(401, 'Invalid secret');
	}

	// Check if we have a type and slug parameter.
	if (!slug || !type) {
		throw error(401, 'Missing slug or type');
	}

	// Default redirect. Altnernatively, you can redirect to a 404 page.
	let redirectSlug = '/';
	let isPreviewing = false;

	// Our query may vary depending on the type.
	if (type === 'post') {
		const post = await getSanityServerClient(true).fetch(postBySlugQuery, {
			slug
		});

		if (!post || !post.slug) {
			throw error(401, 'No post found');
		}

		isPreviewing = true;

		// Set the redirect slug and append the isPreview query
		// param, so that the app knows it's a Sanity preview.
		redirectSlug = `/posts/${post.slug}?isPreview=true`;
	}

	// Set the preview cookie.
	if (isPreviewing) {
		setPreviewCookie(cookies);
	}

	// Since this endpoint is called from the Sanity Studio on
	// every content change, we'll make sure not to cache it.
	setHeaders({
		'Cache-Control': 'no-cache, no-store, must-revalidate, max-age=0, s-maxage=0'
	});

	// We don't redirect to url.searchParams.get("slug") as that exposes us to open redirect vulnerabilities,
	throw redirect(302, redirectSlug);
};
Woah, that's a lot of code! I've tried to comment it as much as possible, but let's go over the imports.
First, we import the env variable from $env/dynamic/private.
This is a variable that SvelteKit provides for us, and it contains all the environment variables that we've defined in our .env file. We'll use this to get the VITE_SANITY_PREVIEW_SECRET variable, which we'll use to verify that the request is coming from Sanity Studio. The secret can be any random string but you can also use the command openssl rand -hex 16 to generate a random string in the terminal.
Note that it's prefixed by VITE_ which exposes this secret to the client, I know this is not ideal. But since we render Sanity Studio V3 directly in a SvelteKit route as an SPA, we don't have a way to hide this secret from the client. If you have any ideas on how to improve this, please let me know on Twitter. If you have Sanity Studio on a seperate domain and codebase, you can of course omit the VITE_ prefix and use the SANITY_ prefix instead and this will keep the secret hidden from the client.
Next, we import the setPreviewCookie function
This comes from a set of functions that'll make it easier to set, get and delete the preview cookie on the server. It looks like this:
	import type { Cookies } from '@sveltejs/kit';

const isDev = import.meta.env.DEV;
const cookieName = '__preview_mode';

/**
 * Preview mode cookie name.
 *
 * @param cookies The cookies object from the request
 * @returns The cookies object with the preview cookie set
 */
export const setPreviewCookie = (cookies: Cookies) =>
	cookies.set(cookieName, 'true', {
		httpOnly: true,
		path: '/',
		sameSite: 'strict',
		secure: !isDev
	});

/**
 * Get the preview mode cookie value.
 *
 * @param cookies The cookies object from the request
 * @returns The preview mode cookie value
 */
export const getPreviewCookie = (cookies: Cookies) => cookies.get(cookieName);

/**
 * Remove the preview mode cookie.
 *
 * @param cookies The cookies object from the request
 * @returns The cookies object with the preview cookie removed
 */
export const clearPreviewCookie = (cookies: Cookies) => {
	cookies.set(cookieName, 'true', {
		httpOnly: true,
		path: '/',
		sameSite: 'strict',
		secure: !isDev,
		expires: new Date(0)
	});
};
Then, we import the getSanityServerClient function
This is a function that we'll use to get a Sanity client. We'll use this to fetch the data from Sanity. We'll also pass a boolean to this function to determine if we want to use the preview client or the normal client. Don't forget to add SANITY_API_READ_TOKEN and SANITY_API_WRITE_TOKEN to your .env file.
This function looks like this:
	// $lib/config/sanity/client.ts
import sanityClient from '@sanity/client';
import type { ClientConfig, SanityClient } from '@sanity/client';
import { env } from '$env/dynamic/private';
import { clientConfig } from './config';

const createClient = (config: ClientConfig): SanityClient => {
	return sanityClient(config);
};

export const previewClient = createClient({
	...clientConfig,
	useCdn: false,
	token: env.SANITY_API_READ_TOKEN || env.SANITY_API_WRITE_TOKEN || ''
});

export const client = createClient(clientConfig);
export const getSanityServerClient = (usePreview: boolean) => (usePreview ? previewClient : client);
Note that the config imported in the file above is the client config and not the SanityConfig (that holds your deskTool etc.). Mine looks like this:
	const isProd = import.meta.env.PROD;

export const sanityConfig = {
	projectId: import.meta.env.VITE_SANITY_PROJECT_ID,
	dataset: import.meta.env.VITE_SANITY_DATASET,
	useCdn: typeof document !== 'undefined' && isProd,
	// useCdn == true gives fast, cheap responses using a globally distributed cache.
	// When in production the Sanity API is only queried on build-time, and on-demand when responding to webhooks.
	// Thus the data need to be fresh and API response time is less important.
	// When in development/working locally, it's more important to keep costs down as hot reloading can incurr a lot of API calls
	// And every page load calls getStaticProps.
	// To get the lowest latency, lowest cost, and latest data, use the Instant Preview mode
	apiVersion: '2022-03-13'
	// see https://www.sanity.io/docs/api-versioning for how versioning works
};
Finally, we import the postBySlugQuery query
This is a Groq query that we'll use to fetch the post. The most important part is that this query returns a slug that we can use in our redirect. Remember that we shouldn't use the slug query param as that may lead to open redirect vulnerabilities. Instead, we'll use the slug that we get from the query. The query looks like this:
	import groq from 'groq';

export const postBySlugQuery = groq`
  *[_type == "post" && slug.current == $slug][0] {
    _id,
    name,
    title
    "slug": slug.current,
  }
`;
Phew, that's done. And apologies for the lengthy explanation, but I wanted to make sure that you understand what's going on.

Now let's go over how to get previews to work in Sanity Studio.
Setting up the preview in Sanity Studio V3
To get the preview to work, we can hook into the Structure Builder API. You can add any React component to S.view.component and it will be rendered in the Studio pane and have access to content in the form in real-time.
Create a new file called PostsPreview.tsz and add it in the folder where all you Sanity config files are. In my case, that's ./src/lib/sanity/components.
All this is doing is rendering an iframe with our preview endpoint as the src attribute. We're also passing the slug and type query params to the endpoint.
Note: If you use a different domain for your Sanity Studio, you should change the url variable in the getUrl function to the URL of your SvelteKit app.
	// $lib/config/components/PostsPreview.tsx
import { Card, Text } from '@sanity/ui';
import React from 'react';

export function PostsPreview(props: unknown) {
	if (!props.document.displayed.slug) {
		return (
			<Card tone="primary" margin={5} padding={6}>
				<Text align="center">Please add a slug to the post to see the preview!</Text>
			</Card>
		);
	}

	return (
		<Card scheme="light" style={{ width: '100%', height: '100%' }}>
			<iframe style={{ width: '100%', height: '100%' }} src={getUrl(props)} />
		</Card>
	);
}

function getUrl({ document }) {
	// If you use a different domain for your Sanity Studio, you should change this to the URL of your SvelteKit app.
	const url = new URL('/api/preview', location.origin);
	const secret = import.meta.env.VITE_SANITY_PREVIEW_SECRET;

	if (secret) {
		url.searchParams.set('secret', secret);
	}

	// The slug of the document that is being previewed.
	url.searchParams.set('slug', document.displayed.slug.current);

	// The type of the document. Allows us to use different queries.
	url.searchParams.set('type', document.displayed._type);

	// Ensures the preview is not cached
	url.searchParams.set('random', Math.random().toString(36).substring(7));

	return url.toString();
}
Now if you have followed my previous post on how to set up Sanity Studio V3 with SvelteKit, you should already have a sanityConfig.ts file in your studio folder. If that's the case, add the missing imports and the PostsPreview to the defaultDocumentNode.
	// $lib/config/sanity/sanityConfig.ts
import { deskTool } from 'sanity/desk';
import { PostsPreview } from './lib/config/sanity/components/PostsPreview';

export default {
	plugins: [deskTool()],
	name: 'My Sanity Studio',
	projectId: 'xxxxxxxx', // Replace with your project ID
	dataset: 'production',
	schema: {
		types: [
			{
				type: 'document',
				name: 'post',
				title: 'Post',
				fields: [
					{
						type: 'string',
						name: 'title',
						title: 'Title'
					}
				]
			}
		]
	},
	plugins: [
		deskTool({
			// `defaultDocumentNode is responsible for adding a “Preview” tab to the document pane.
			defaultDocumentNode: (S, { schemaType }) => {
				if (schemaType === 'post') {
					return S.document().views([
						S.view.form(),
						S.view.component(PostsPreview).title('Preview')
					]);
				}
				return null;
			}
		})
	]
};
Bringing it all together
Now that we have our preview endpoint, and the PostsPreview.tsx component hooked up, all there is left to do is to create a page that renders the preview. Luckily for us, this is the same route our post page uses. We just need to sprinkle in some logic to check if we're in preview mode.
Importing the createPreviewSubscriptionStore function
Now bear with me, because this is the part where I won't explain a whole lot. Because most of the code is modelled after the hooks in the Sanity's Next.js Toolkit package.
This package has a createPreviewSubscriptionHook hook that will stream the whole dataset to the browser, which it keeps updated using listeners and Mendoza patches. Yeah, I know, it's a lot to take in.
I took some time to transform this hook into a Svelte store called createPreviewSubscriptionStore. All you need to do is take the contents of this folder, and add it to your project (ideally in the same folder where all your Sanity config files live). Don't forget to install the @sanity/groq-store package.
Like I mentioned at the start of this guide, if there's enough interest, I'll publish this as a package on NPM.
Done? Brilliant 👏
Adding a SvelteKit server hook
Almost there, all we need is a SvelteKit hook that will populate the event.locals object. This allows us to easily get context in SvelteKit routes about whether we are in preview mode or not. In the src folder create a new file called hooks.server.ts and add the following code.
	import { getPreviewCookie } from '$lib/utils';
import type { Handle } from '@sveltejs/kit';

export const handle: Handle = async ({ event, resolve }) => {
	const previewModeCookie = getPreviewCookie(event.cookies);

	event.locals.previewMode = false;

	if (previewModeCookie === 'true') {
		event.locals.previewMode = true;
	}

	const response = await resolve(event);

	return response;
};
Also make sure you update your app.d.ts file to include the previewMode property so that TypeScript doesn't complain.
	// See https://kit.svelte.dev/docs/types#app
// for information about these interfaces
// and what to do when importing types
declare namespace App {
	interface Locals {
		previewMode: boolean;
	}
	// interface PageData {}
	// interface Platform {}
	// interface PrivateEnv {}
	// interface PublicEnv {}
}
Creating the server for the post route
We have finally arrived at the good stuff 🎉
In the src/routes folder create a new folder called posts and add a new folder called [slug] inside of it. This will be the route that will render our post page. Inside the [slug] folder create a new file called +page.server.ts and add the following code.
	import { error } from '@sveltejs/kit';
import type { PageServerLoad } from './$types';
import { postQuery } from '$lib/config/sanity/queries';
import { getSanityServerClient } from '$lib/config/sanity/client';

export const load: PageServerLoad = async ({ params, locals: { previewMode } }) => {
	const post = await getSanityServerClient(previewMode).fetch(postQuery, {
		slug: params.slug
	});

	if (!post) {
		throw error(404, 'Post not found');
	}

	return {
		previewMode,
		slug: post?.slug || params.slug,
		initialData: {
			post
		}
	};
};
This code will only run on the server. Let me break it down:
- We import the
errorfunction from SvelteKit, which we will use to throw a 404 error if the post doesn't exist. - We import the
PageServerLoadtype from the+page.server.tsfile. This is a type that SvelteKit uses to automatically type theloadfunction. - We import the
postQueryquery from ourqueries.tsfile. This is the query that will fetch our post from Sanity. - We import the
getSanityServerClientfunction from ourclient.tsfile. And we pass in thepreviewModeboolean that we set in ourhooks.server.tsfile. This will return a Sanity client that is configured to use the preview client if we are in preview mode.
Then all we need to do is return the previewMode boolean, the slug of the post, and the initialData object. This will be used to hydrate the SvelteKit page.
Creating the client for the post route
In the same folder as the +page.server.ts file, create a new file called +page.svelte and add the following code.
	<script lang="ts">
	import { previewSubscription } from '$lib/config/sanity';
	import { postQuery } from '$lib/config/sanity/queries';
	import type { PageData } from './$types';

	export let data: PageData;

	$: ({ initialData, previewMode, slug } = data);
	$: ({ data: postData } = previewSubscription(postQuery, {
		params: { slug },
		initialData,
		enabled: previewMode && !!slug
	}));
</script>

{#if $postData?.post}
	<div>{$postData.post.title}</div>
{/if}
The first import, previewSubscription, is part of the folder I asked you to copy into your project earlier. To create this import, in your $lib/config/sanity folder, create an index.ts file (or whatever file name you prefer) and add the following code (again this is the client config that is being passed in, and not the desk config).
	import { createPreviewSubscriptionStore } from './sveltekit/previewSubscriptionStore';
import { createCurrentUserStore } from './sveltekit/currentUser';
import { clientConfig } from './config';

export const previewSubscription = createPreviewSubscriptionStore(clientConfig);

export const sanityUser = createCurrentUserStore(clientConfig);
This will create a Svelte store that we can use in our SvelteKit page. The previewSubscription store takes three arguments:
- The
querythat we want to run. In this case it's thepostQuerythat we imported from ourqueries.tsfile. This is the same query that we used in our+page.server.tsfile. - The
paramsthat we want to pass to the query. In this case it's theslugof the post. - The
initialDatathat we want to pass to the query. In this case it's theinitialDatathat we returned from theloadfunction in the+page.server.tsfile.
The enabled argument is a boolean that we use to enable or disable the preview subscription. In this case we only want to enable it if we are in preview mode and if we have a slug.

And that's all! We now have a SvelteKit page that will render a post from Sanity. If we are in preview mode, the page will update in real time as we make changes to the post in Sanity.
Now I realize that this is a lot of code to digest, so if you want to see the full code for this example, you can check out the Github repo. If you have any questions, feel free to reach out to me on Twitter.