On This Page
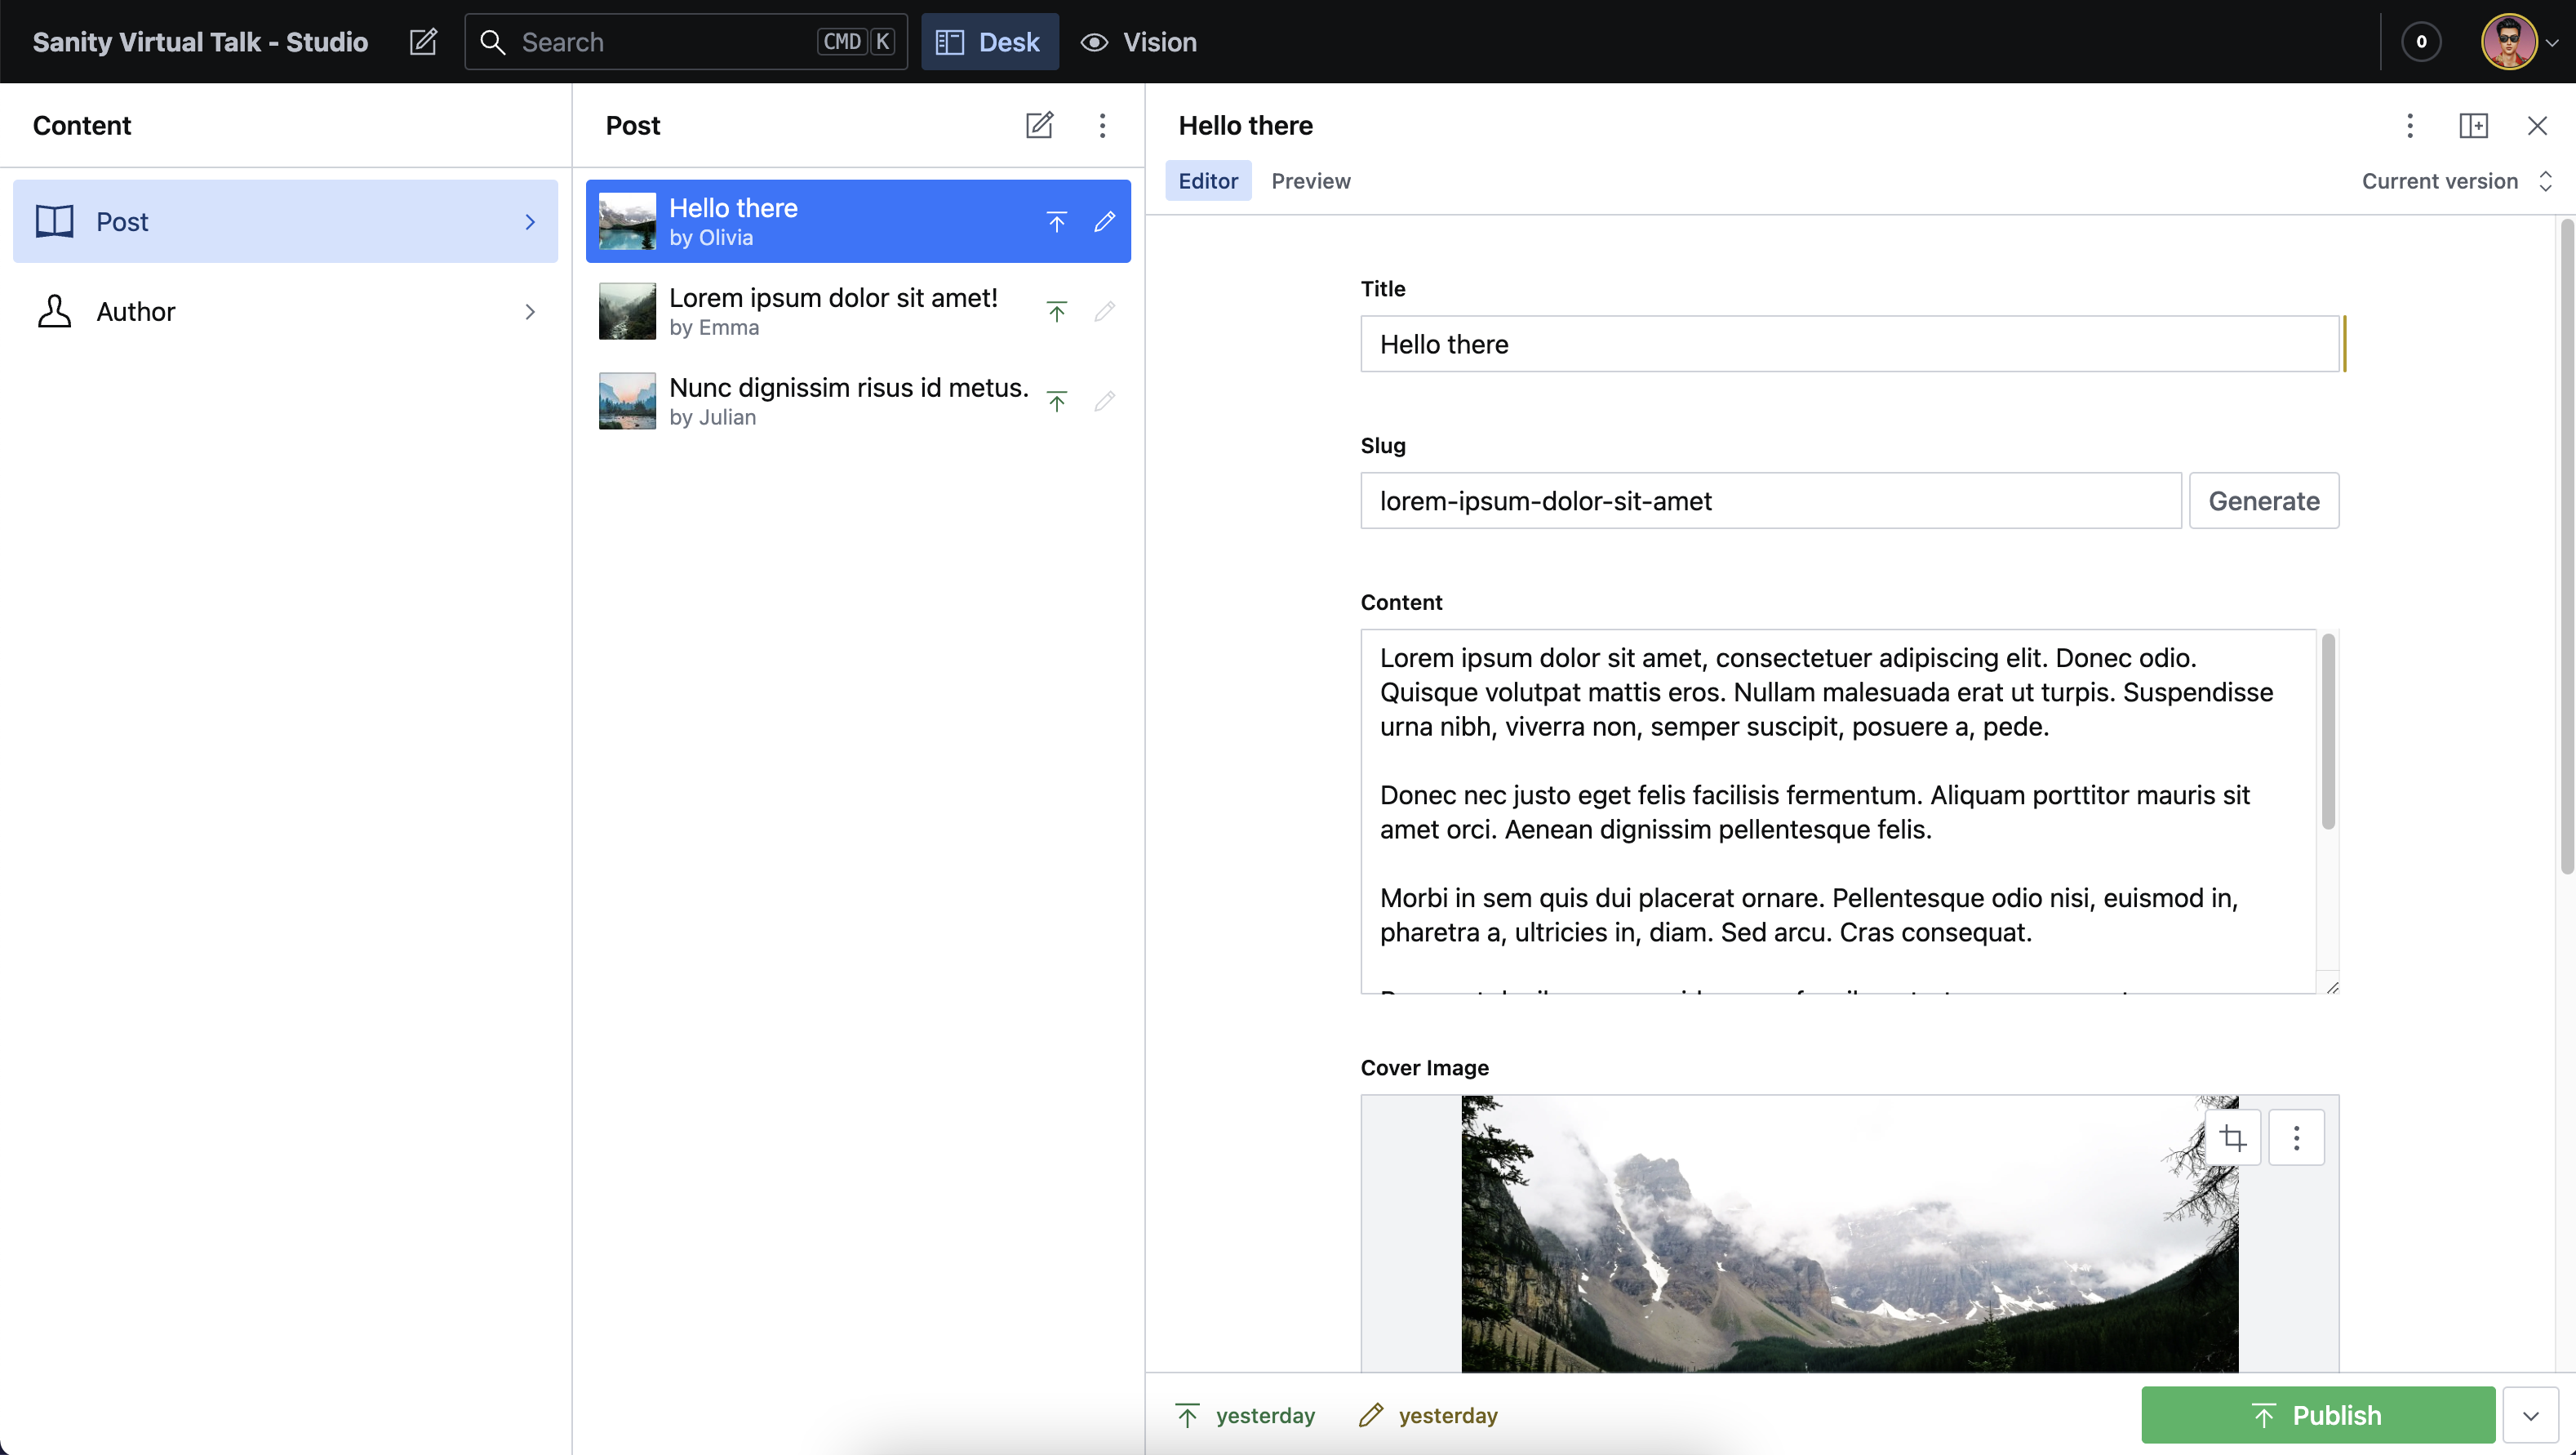
When I was working on a new project that involved Sveltekit and Sanity I got curious and wanted to know whether I could directly embed Sanity Studio V3 into a SvelteKit app.
I was living on the edge already, so I might as well embrace it 😆
I was able to do it and I am sharing my findings here. I am actually going to change my other projects that are using Sanity Studio to use this approach. It is much more convenient, because most of my smaller projects are not inside of a monorepo.
Before we jump in, this guide assumes you have a Sanity project set up and you have a SvelteKit app ready to go. In the examples below I'm using Typescript but you can use Javascript if that's what you prefer.
TLDR: You can find the full example on Github. You can also find a live demo of the app here.
Hold up, what is Sanity?
Sanity is a headless CMS that allows you to create content schemas and manage content in a visual editor. In terms of data structure I would say it's quite similar to some of the other headless CMSs like Contentful or Prismic.
However, where Sanity shines is the abilty to customize the editor to your needs using React. Maybe that changes in the future and we can extend Sanity with Svelte components, looking at you Mitosis 👀
The challenge
Before V3, Sanity Studio needed it's own build step. It is possible to keep V2 inside the same codebase, but let's be honest, no one likes another package.json file in their project (unless you're using a monorepo).
The new Sanity Studio is bundler agnostic and can be used with any framework. In other words, the new Sanity Studio comes bundled with a renderStudio function that lets you mount it on any DOM element.
This means that it technically should be possible to embed Sanity Studio into a SvelteKit app... today — right? 🤔
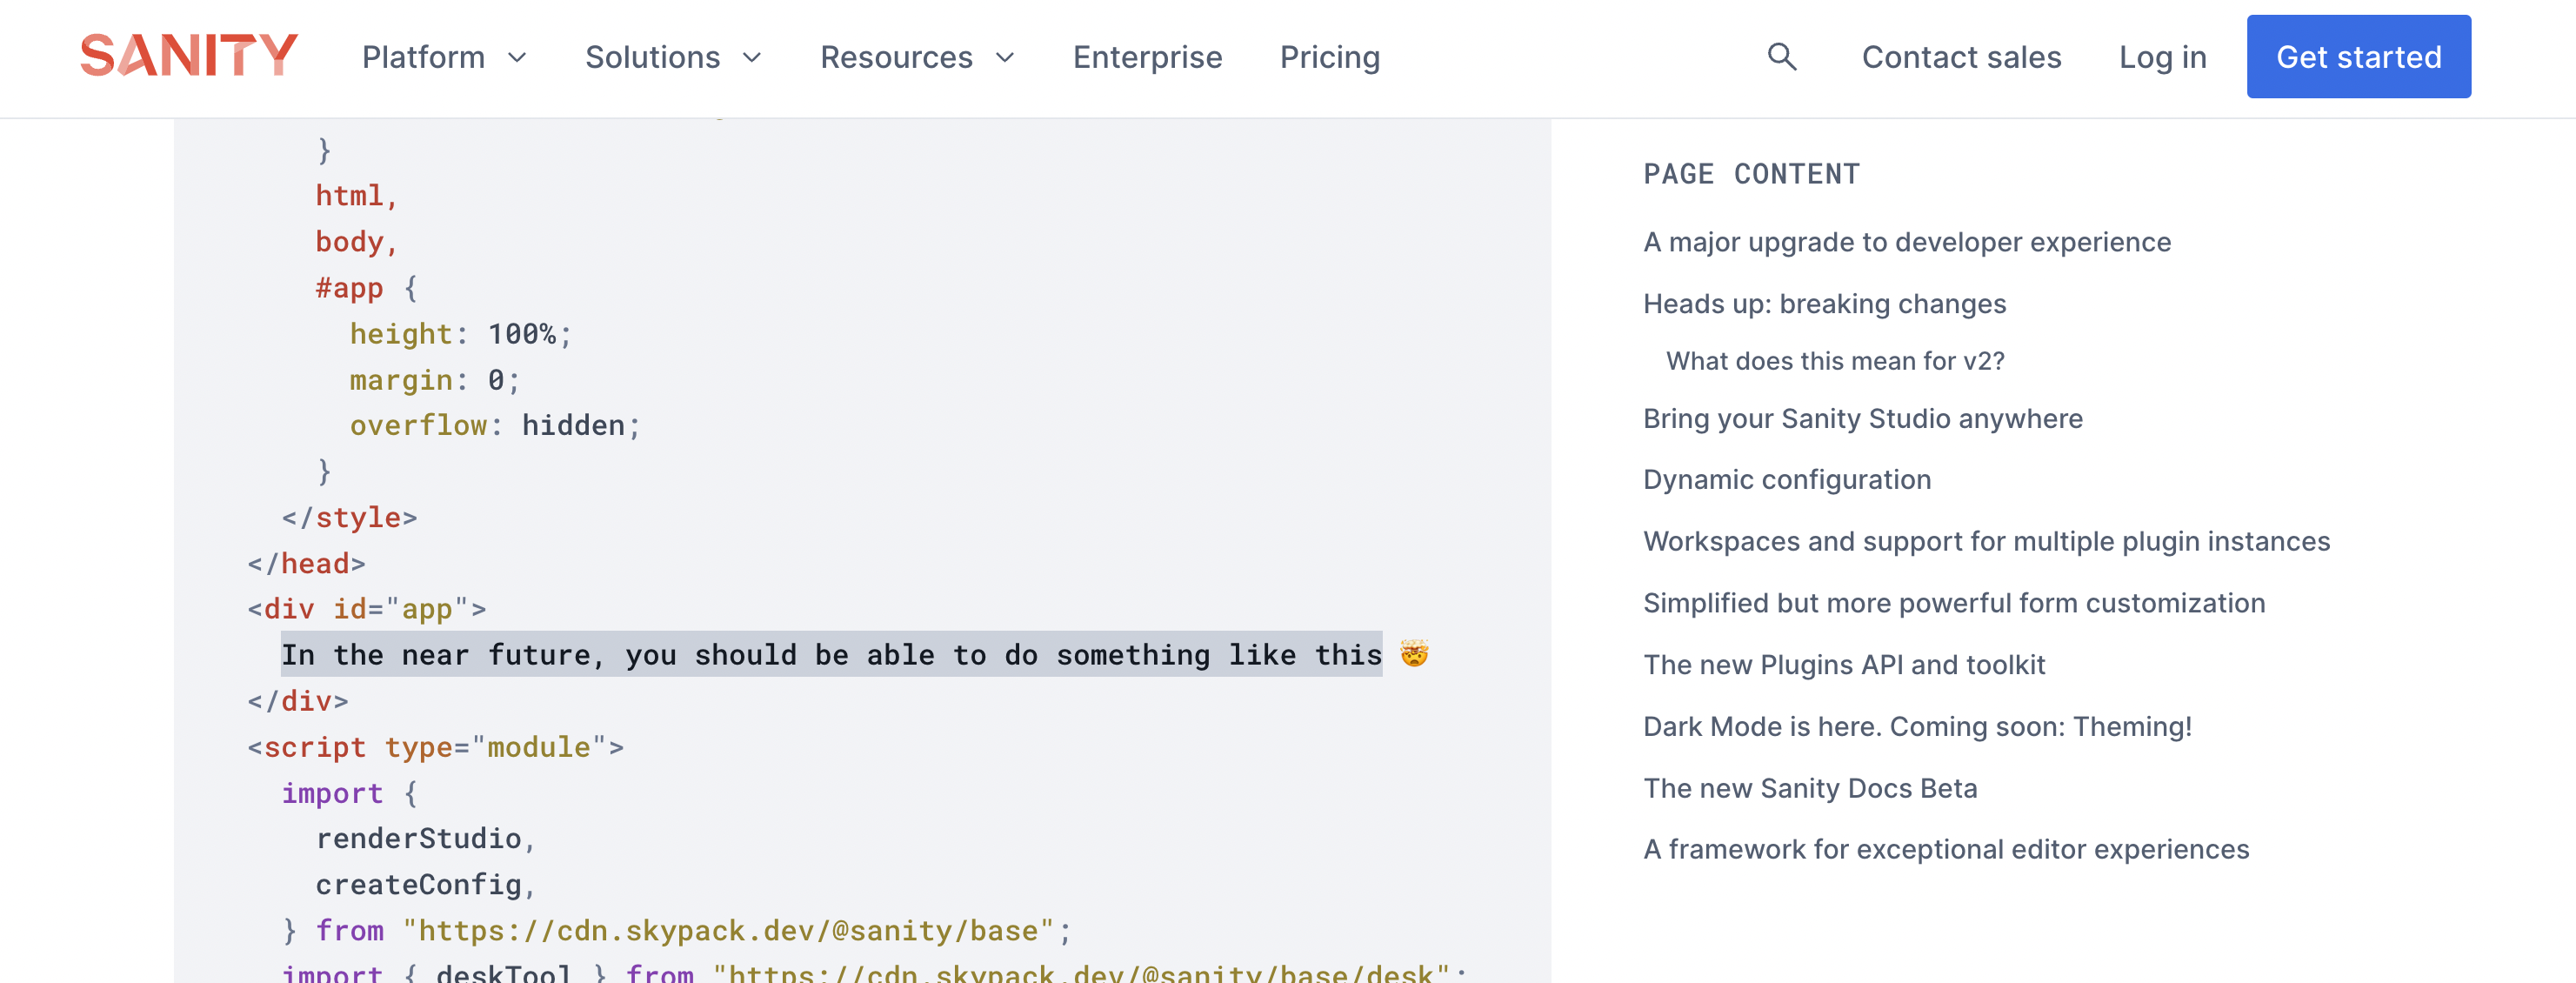
In the offical announcement it shows an example of how to import it using Skypack. I tried that method, but I couldn't really get it to work (and it's not typed).

I also noticed it says: "In the near future, you should be able to do something like this 🤯". So I guess this method starts to work once V3 is officially released.
Finding a solution
The solution is actually quite simple. We can use the renderStudio function to mount Sanity Studio into a specific Sveltekit route. But we got to make sure that we redirect all subpaths for the Studio’s basePath, because Sanity Studio is an Single Page Application.
Alright, let's get started.
1. Install Sanity
In this example and at time of writing I'm using 3.0.0-dev-preview.22, which you can install using the following command. This will install the latest dev version of Sanity Studio.
	pnpm add sanity@dev-preview
# or npm install sanity@dev-preview
# or yarn add sanity@dev-preview
2. Creating the Studio route
In the routes folder create a new folder called studio and add another folder called [...catchall] inside of it. This will catch all subpaths for the Studio. You can read more about [...catchall] in the SvelteKit docs.
Inside of the [...catchall] folder create a new file called page.svelte and add the following code:
	<script lang="ts">
	// Import our config and the studio component.
</script>

<div>Studio</div>
3. Create a Sanity config
We need to create a config, so that we can pass it to the renderStudio function. Create a new file called sanityConfig.ts and add the following code. You can obviously skip this step if you already have a Sanity Studio V3 config file.
In my projects, I usually have a config folder inside a lib folder called sanity that has all my Sanity related config files. You store your config file wherever you want, but make sure you update the import path in the steps later on.
	import { deskTool } from 'sanity/desk';

export default {
	plugins: [deskTool()],
	name: 'My Sanity Studio',
	projectId: 'xxxxxxxx', // Replace with your project ID
	dataset: 'production',
	schema: {
		types: [
			{
				type: 'document',
				name: 'post',
				title: 'Post',
				fields: [
					{
						type: 'string',
						name: 'title',
						title: 'Title'
					}
				]
			}
		]
	}
};
3. Create a re-usable Sanity Studio component
Let's create a re-usable component that we can use for mounting Sanity Studio V3.
Create a new file called SanityStudio.svelte in src/lib/components and add the following code:
	<script lang="ts">
	import { renderStudio, createConfig, type StudioProps } from 'sanity';
	import { onMount } from 'svelte';

	export let config: StudioProps['config'];

	let studioEl: HTMLDivElement;

	onMount(() => {
		if (studioEl) {
			const sanityConfig = createConfig(config);

			renderStudio(studioEl, sanityConfig);
		}
	});
</script>

<svelte:head>
	<meta name="viewport" content="width=device-width, initial-scale=1, viewport-fit=cover" />
	<meta name="robots" content="noindex" />
	<meta name="referrer" content="same-origin" />
</svelte:head>

<div id="svelte-studio">
	<div bind:this={studioEl} />
</div>

<style>
	#svelte-studio {
		height: 100vh;
	}

	#svelte-studio > div {
		height: 100%;
	}
</style>
Let's break it down, shall we 🤓
- First we import the
renderStudioandcreateConfigfunctions from Sanity. We also import theStudioProps, so that ourconfigprop is nicely typed. - Next up we create a
studioElvariable that we will use to mount the Studio to. After that we use theonMountfunction to mount Sanity Studio once the component is mounted. - We also add a couple of meta tags to the
<head>of the page. This is to ensure robots don't index the page and that the viewport is set correctly. - Finally we add a
<div>element that we will use to mount Sanity Studio on. and add a couple of styles to make sure the Studio takes up the full height of the page.
What can be improved?
I guess we could dynamically import the Sanity Studio because it's quite a big bundle. But that's something for another day.
4. Update the Studio route
Now that we have our Sanity Studio component, we can update the Studio route to use it. Open the page.svelte file in the studio/[...catchall] folder and update it to the following:
	<script lang="ts">
	import config from '$lib/config/sanity';
	import SanityStudio from '$lib/components/SanityStudio.svelte';
</script>

<SanityStudio {config} />
And that's it! 🎉
You should now be able to access Sanity Studio V3 in your SvelteKit app under the /studio route 🚀

Wrapping up
I hope you found this tutorial useful. If you have any questions or suggestions, feel free to reach out to me on Twitter. I'm also available for hire, so if you need help with your project, feel free to contact me.