On This Page
After our last guide on the Upstash blog scored a spot on the Bytes newsletter, I thought we'd keep the SvelteKit party going.
As a Svelte super fan, I'm seeing more and more people jumping on board every day — and it makes me incredibly excited for the future.
One of the tools that’s still flying under the radar is Lucia.
In this guide I’m going to show you how to get authentication up and running with Lucia. Where we will be using PlanetScale for our database needs, and Upstash Redis to handle sessions.
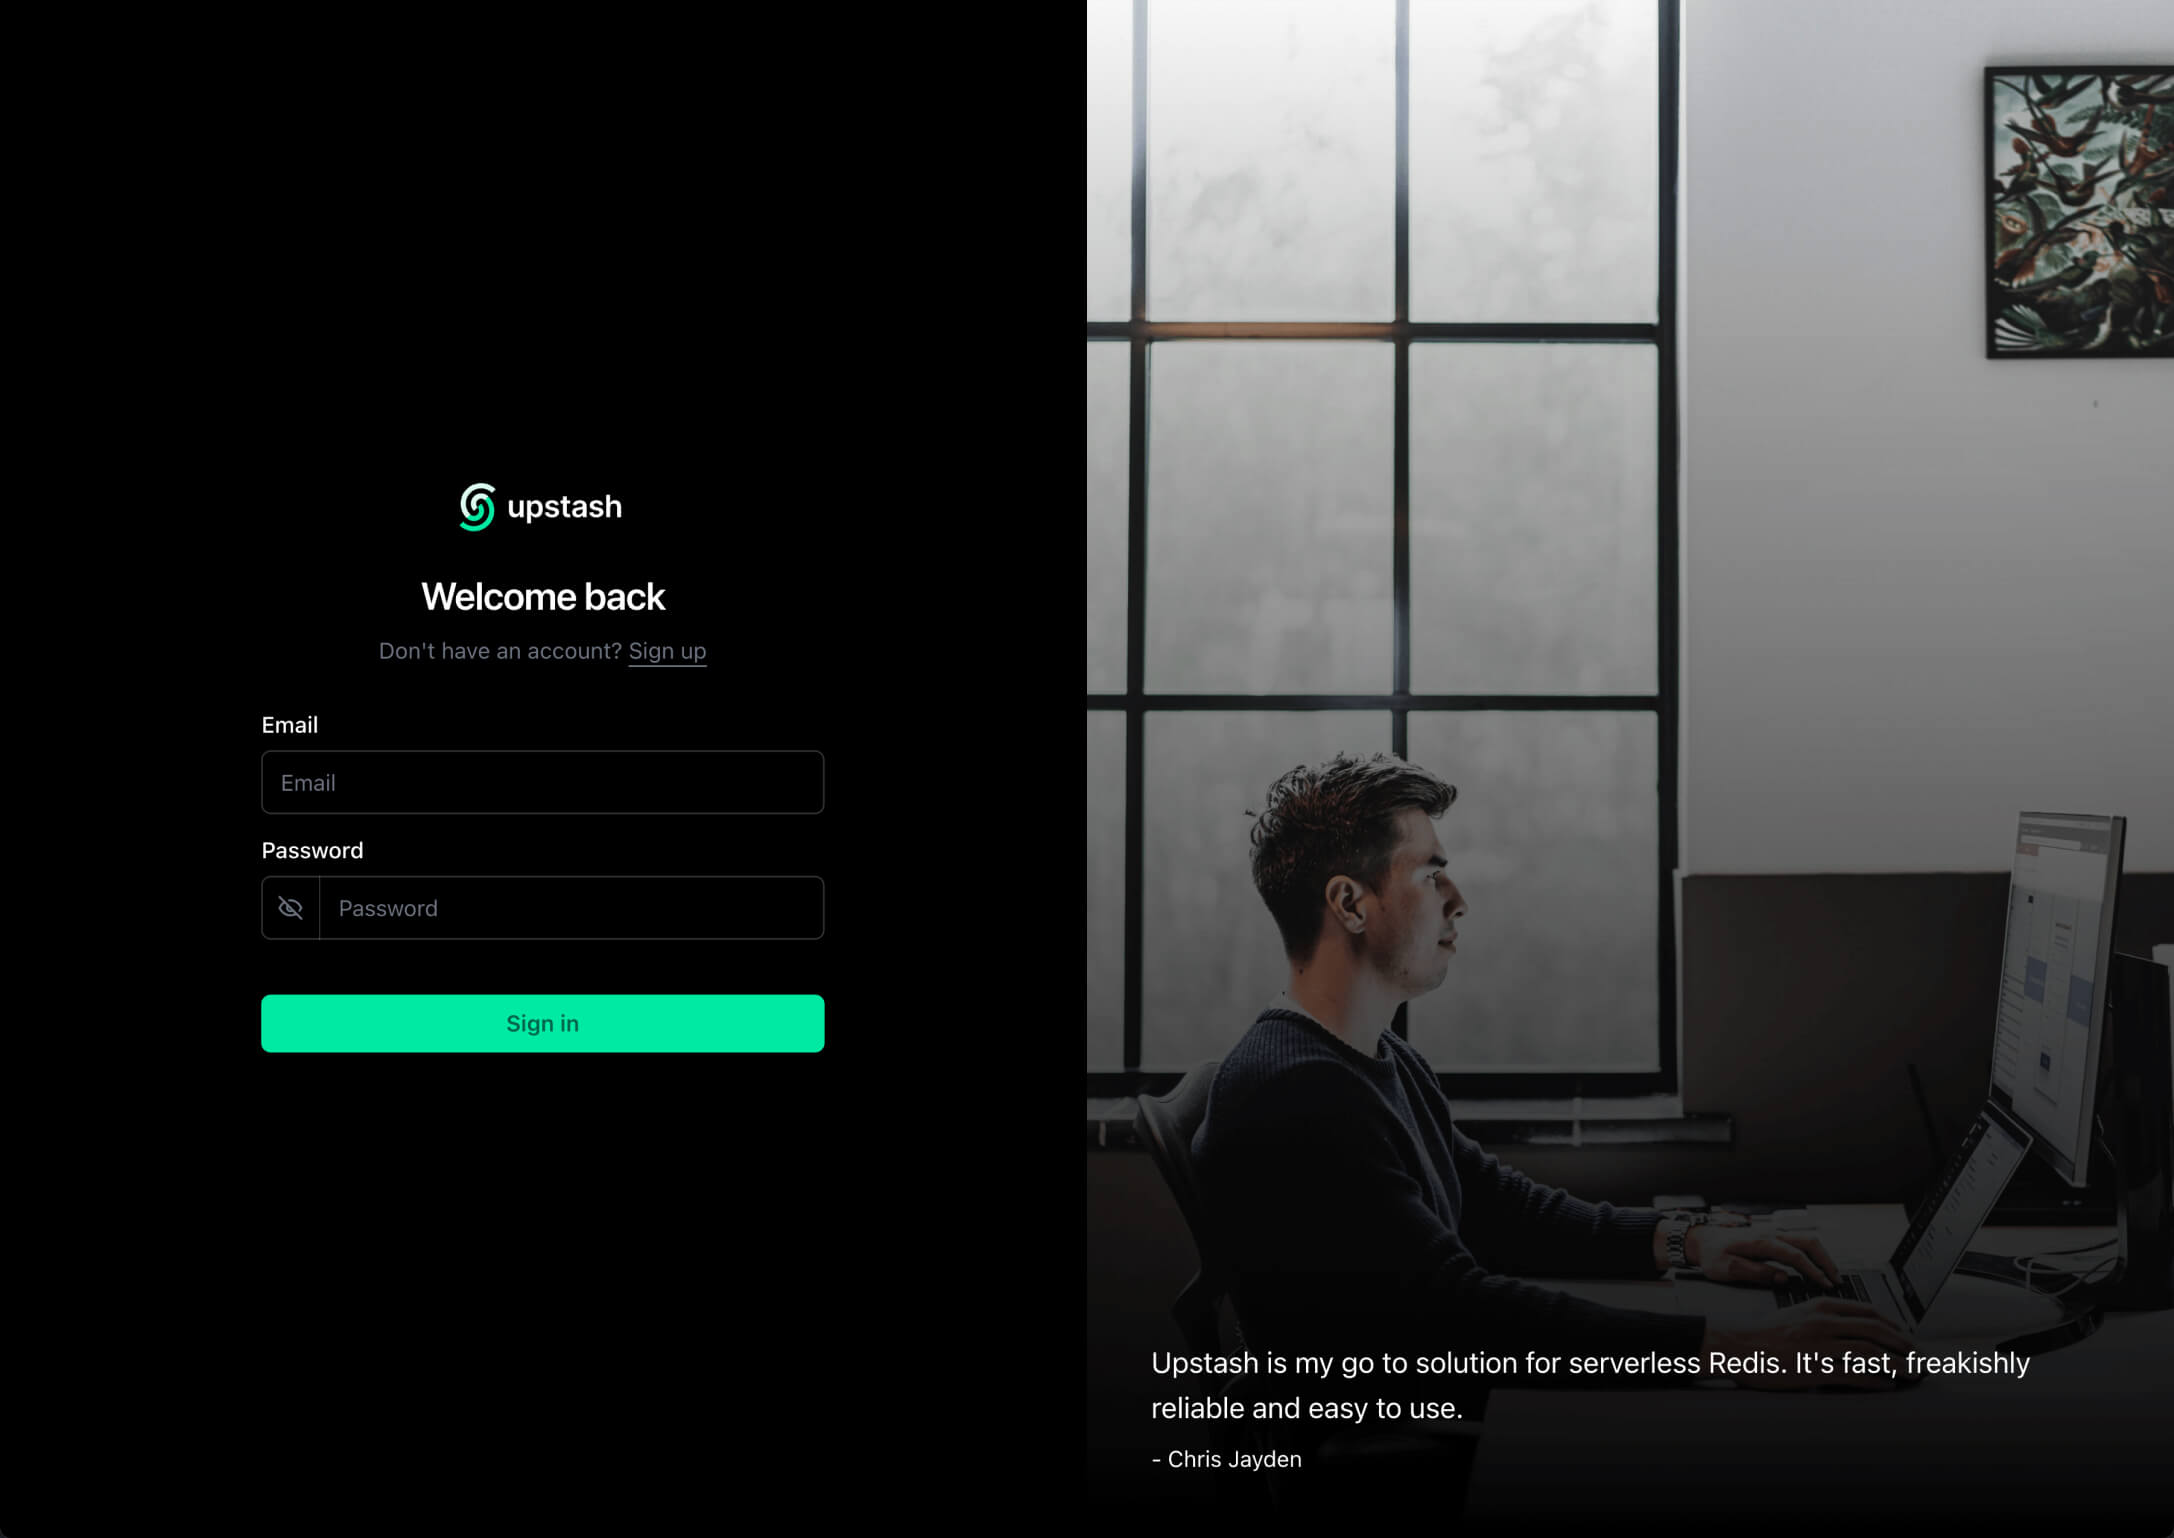
Below is a screenshot of our end goal for this guide. You can find the example repository here.

This guide will be in SvelteKit, but since Lucia supports any framework, most of this guide can easily be applied to any popular framework out there.
But first things first.
What is Lucia?
Simply put, Lucia is a helpful library for TypeScript that makes handling users and sessions a piece of cake.
Originally, this library was created for SvelteKit, but it has continually evolved and is now versatile enough to play well with just about any framework.
https://twitter.com/pilcrowonpaper/status/1689334346782748674
What's so awesome about Lucia is how it equips you with everything you need to manage the complexity of authentication without sacrificing user experience.
Think of Lucia as a set of primitives — it’s up to you how you want to structure your code and handle the user experience.
Lucia has a few key parts that are important to understand:
Middleware: allows Lucia to read the request and response for different frameworks and runtime.
	import { lucia } from 'lucia';
import { node } from 'lucia/middleware';
// import { nextjs } from "lucia/middleware";
// import { h3 } from "lucia/middleware";

export const auth = lucia({
	env: 'DEV', // "PROD" if deployed to HTTPS
	middleware: node()
});
Database adapters: allow Lucia to store and retrieve users and sessions. By providing an adapter Lucia knows how to query for these types. There are 2 types of adapters; regular adapters, and session adapters. In this particular guide we’re going to use a mySQL database hosted on PlanetScale to store our users, and a Redis instance hosted on Upstash to handle sessions.
	import { lucia } from 'lucia';
import { prisma } from '@lucia-auth/adapter-prisma';
import { PrismaClient } from '@prisma/client';

const client = new PrismaClient();

const auth = lucia({
	env: 'DEV',
	adapter: prisma(client)
});
With that background info, let’s jump right in.
Prerequisites
To get up and running with the app and following along you need:
- A fundamental understanding of SvelteKit, primarily regarding routes and server-side data loading.
- Basic familiarity with the Drizzle. In this guide we’ll only use Drizzle to manage our MySQL schema.
- An account and database on PlanetScale.
- Access to a Redis instance for example, Upstash Redis.
Getting started
For the sake of efficiency, we won't be creating the entire application from scratch.
Instead, you can clone the sveltekit-lucia-redis directory from the Upstash examples repo to follow along.
After downloading the repository, navigate into the application using the cd command and install the dependencies via your preferred package manager and set the .env variables by duplicating .env.example.
Understanding the key parts
Here’s a quick rundown of all the important parts.
src/lib/server/auth/index.ts- Here’s where we configure Lucia.src/lib/server/drizzle- Drizzle helps us to easily create a mySQL schema which we can conveniently push to PlanetScale using Drizzle Kit. In our last post I used Prisma, so I figured we switch things up and keep things interesting.src/lib/server/planetscale- Exports the Upstash Client which we use in our Lucia adapter config to manage users.src/lib/server/upstash- Exports the Upstash Client which we use in our Lucia adapter config to manage sessions.
Alright! Let’s break down the code and see the app in action!
Breaking down the code
Configuring Lucia
The first thing we need to do is configure Lucia. We do this by creating a new file in src/lib/server/auth/index.ts.
	import { lucia } from 'lucia';
import { dev } from '$app/environment';
import { sveltekit } from 'lucia/middleware';
import { planetscale } from '@lucia-auth/adapter-mysql';
import { ps } from '../planetscale';

export enum PROVIDER_ID {
	EMAIL = 'email'
}

export const auth = lucia({
	adapter: {
		user: planetscale(ps, {
			user: 'users',
			key: 'keys',
			/**
			 * Sessions are handled by Upstash Redis.
			 */
			session: null
		})
	},
	middleware: sveltekit(),
	env: dev ? 'DEV' : 'PROD',
	getUserAttributes: (data) => {
		return {
			userId: data.id,
			email: data.email
		};
	}
});

export type Auth = typeof auth;
Let’s break down what’s happening here.
We import the lucia function from the lucia package to set up the configuration for Lucia.
The first thing we do is configure the adapter property. This is where we tell Lucia how to handle users and sessions.
Take note of the session property. We set this to null because we want to use Redis to handle sessions. If you would use 'session' here instead, Lucia would use the same adapter for both users and sessions (these strings correspond to the tables in your database).
Don't worry about the session adapter for now, we'll get to that later.
In the middleware property we can let Lucia know that we're using SvleteKit. This will allow Lucia to read the request and response objects.
Take note of the exported Auth type. This is the type of our auth object. We'll need this to set up the SvelteKit locals.
Getting great type inference with Lucia
Lucia is written in TypeScript, so you get great type inference out of the box. Let's make sure SvelteKit knows about the Auth type we just created.
Open up your app.d.ts file and add the following:
	import type { AuthRequest, Session, User } from 'lucia';
import type { Auth as LuciaAuth } from '$lib/server/auth';

declare global {
	namespace App {
		// interface Error {}
		interface Locals {
			auth: AuthRequest;
			session: Session | null;
		}
		interface PageData {
			user?: User;
		}
		// interface Platform {}
	}
}

/// <reference types="lucia" />
declare global {
	namespace Lucia {
		type Auth = LuciaAuth;
		type DatabaseUserAttributes = {
			email: string;
		};
		type DatabaseSessionAttributes = {};
	}
}

export {};
By adding the Auth type to the Lucia namespace, we can now access the auth object from the locals object in our SvelteKit routes.
But also anything imported from Lucia will now have the correct types as well.
Now that we have these types, we can set up hooks.server.ts. This is where we’ll bind the AuthRequest object to the current request and this will make it easily accessible on the server through locals. We'll also bind the Session object to the current session.
	import { auth } from '$lib/server';
import type { Handle } from '@sveltejs/kit';
import { sequence } from '@sveltejs/kit/hooks';

const auth_handle: Handle = async ({ event, resolve }) => {
	event.locals.auth = auth.handleRequest(event);
	event.locals.session = await event.locals.auth.validate();

	return resolve(event);
};

export const handle = sequence(auth_handle);
We'll also import sequence which is a helper function that allows us to run multiple hooks in sequence. This will be useful later on when we try to protect our routes.
Creating the user model
Now that we have Lucia configured, we can create our user model.
We'll use Drizzle ORM, since it's all hot and happening right now.

And their memes are on point. Just look at this one.
And we'll only use it to manage our schema, not to query the database as that's handled by Lucia.
Before you can continue, you need to create a database on PlanetScale. And setup the Drizzle config file. This will help the Drizzle CLI to connect to your database.
	import type { Config } from 'drizzle-kit';
import dotenv from 'dotenv';

dotenv.config();

const username = process.env.DATABASE_USERNAME;
const password = process.env.DATABASE_PASSWORD;
const host = process.env.DATABASE_HOST;
const db = process.env.DATABASE_NAME;
const connectionString = `mysql://${username}:${password}@${host}/${db}?ssl={"rejectUnauthorized":true}`;

export default {
	schema: './src/lib/server/drizzle/schema/index.ts',
	driver: 'mysql2',
	dbCredentials: {
		connectionString: connectionString
	}
} satisfies Config;
Because we're using the mySQL adapter, Lucia expects our user model to have a specific structure. You can find more information about this in the docs.
Place the following code in src/lib/server/drizzle/schema/index.ts.
	import {
	mysqlTable,
	index,
	unique,
	varchar,
	datetime,
	mysqlEnum,
	bigint,
	timestamp,
	int
} from 'drizzle-orm/mysql-core';
import { relations } from 'drizzle-orm';

export const users = mysqlTable(
	'users',
	{
		id: varchar('id', { length: 255 }).primaryKey(),
		createdAt: timestamp('createdAt').defaultNow().onUpdateNow().notNull(),
		updatedAt: timestamp('updatedAt').defaultNow().onUpdateNow().notNull(),
		email: varchar('email', { length: 191 }).notNull()
	},
	(table) => {
		return {
			idIdx: index('users_id_idx').on(table.id),
			userIdKey: unique('users_id_key').on(table.id)
		};
	}
);

export const keys = mysqlTable(
	'keys',
	{
		id: varchar('id', { length: 255 }).primaryKey(),
		hashedPassword: varchar('hashed_password', { length: 255 }),
		userId: varchar('user_id', { length: 255 }).notNull()
	},
	(table) => {
		return {
			userIdIdx: index('keys_user_id_idx').on(table.userId),
			keyIdKey: unique('keys_id_key').on(table.id)
		};
	}
);
And run pnpm drizzle-kit push:mysql to push the schema to PlanetScale.
Voila! You now have a user model that Lucia can use to manage users.
Setting up session management
Now that we have our user model, we can set up session management.
We'll use Upstash Redis to handle sessions. You can sign up for a free account here.

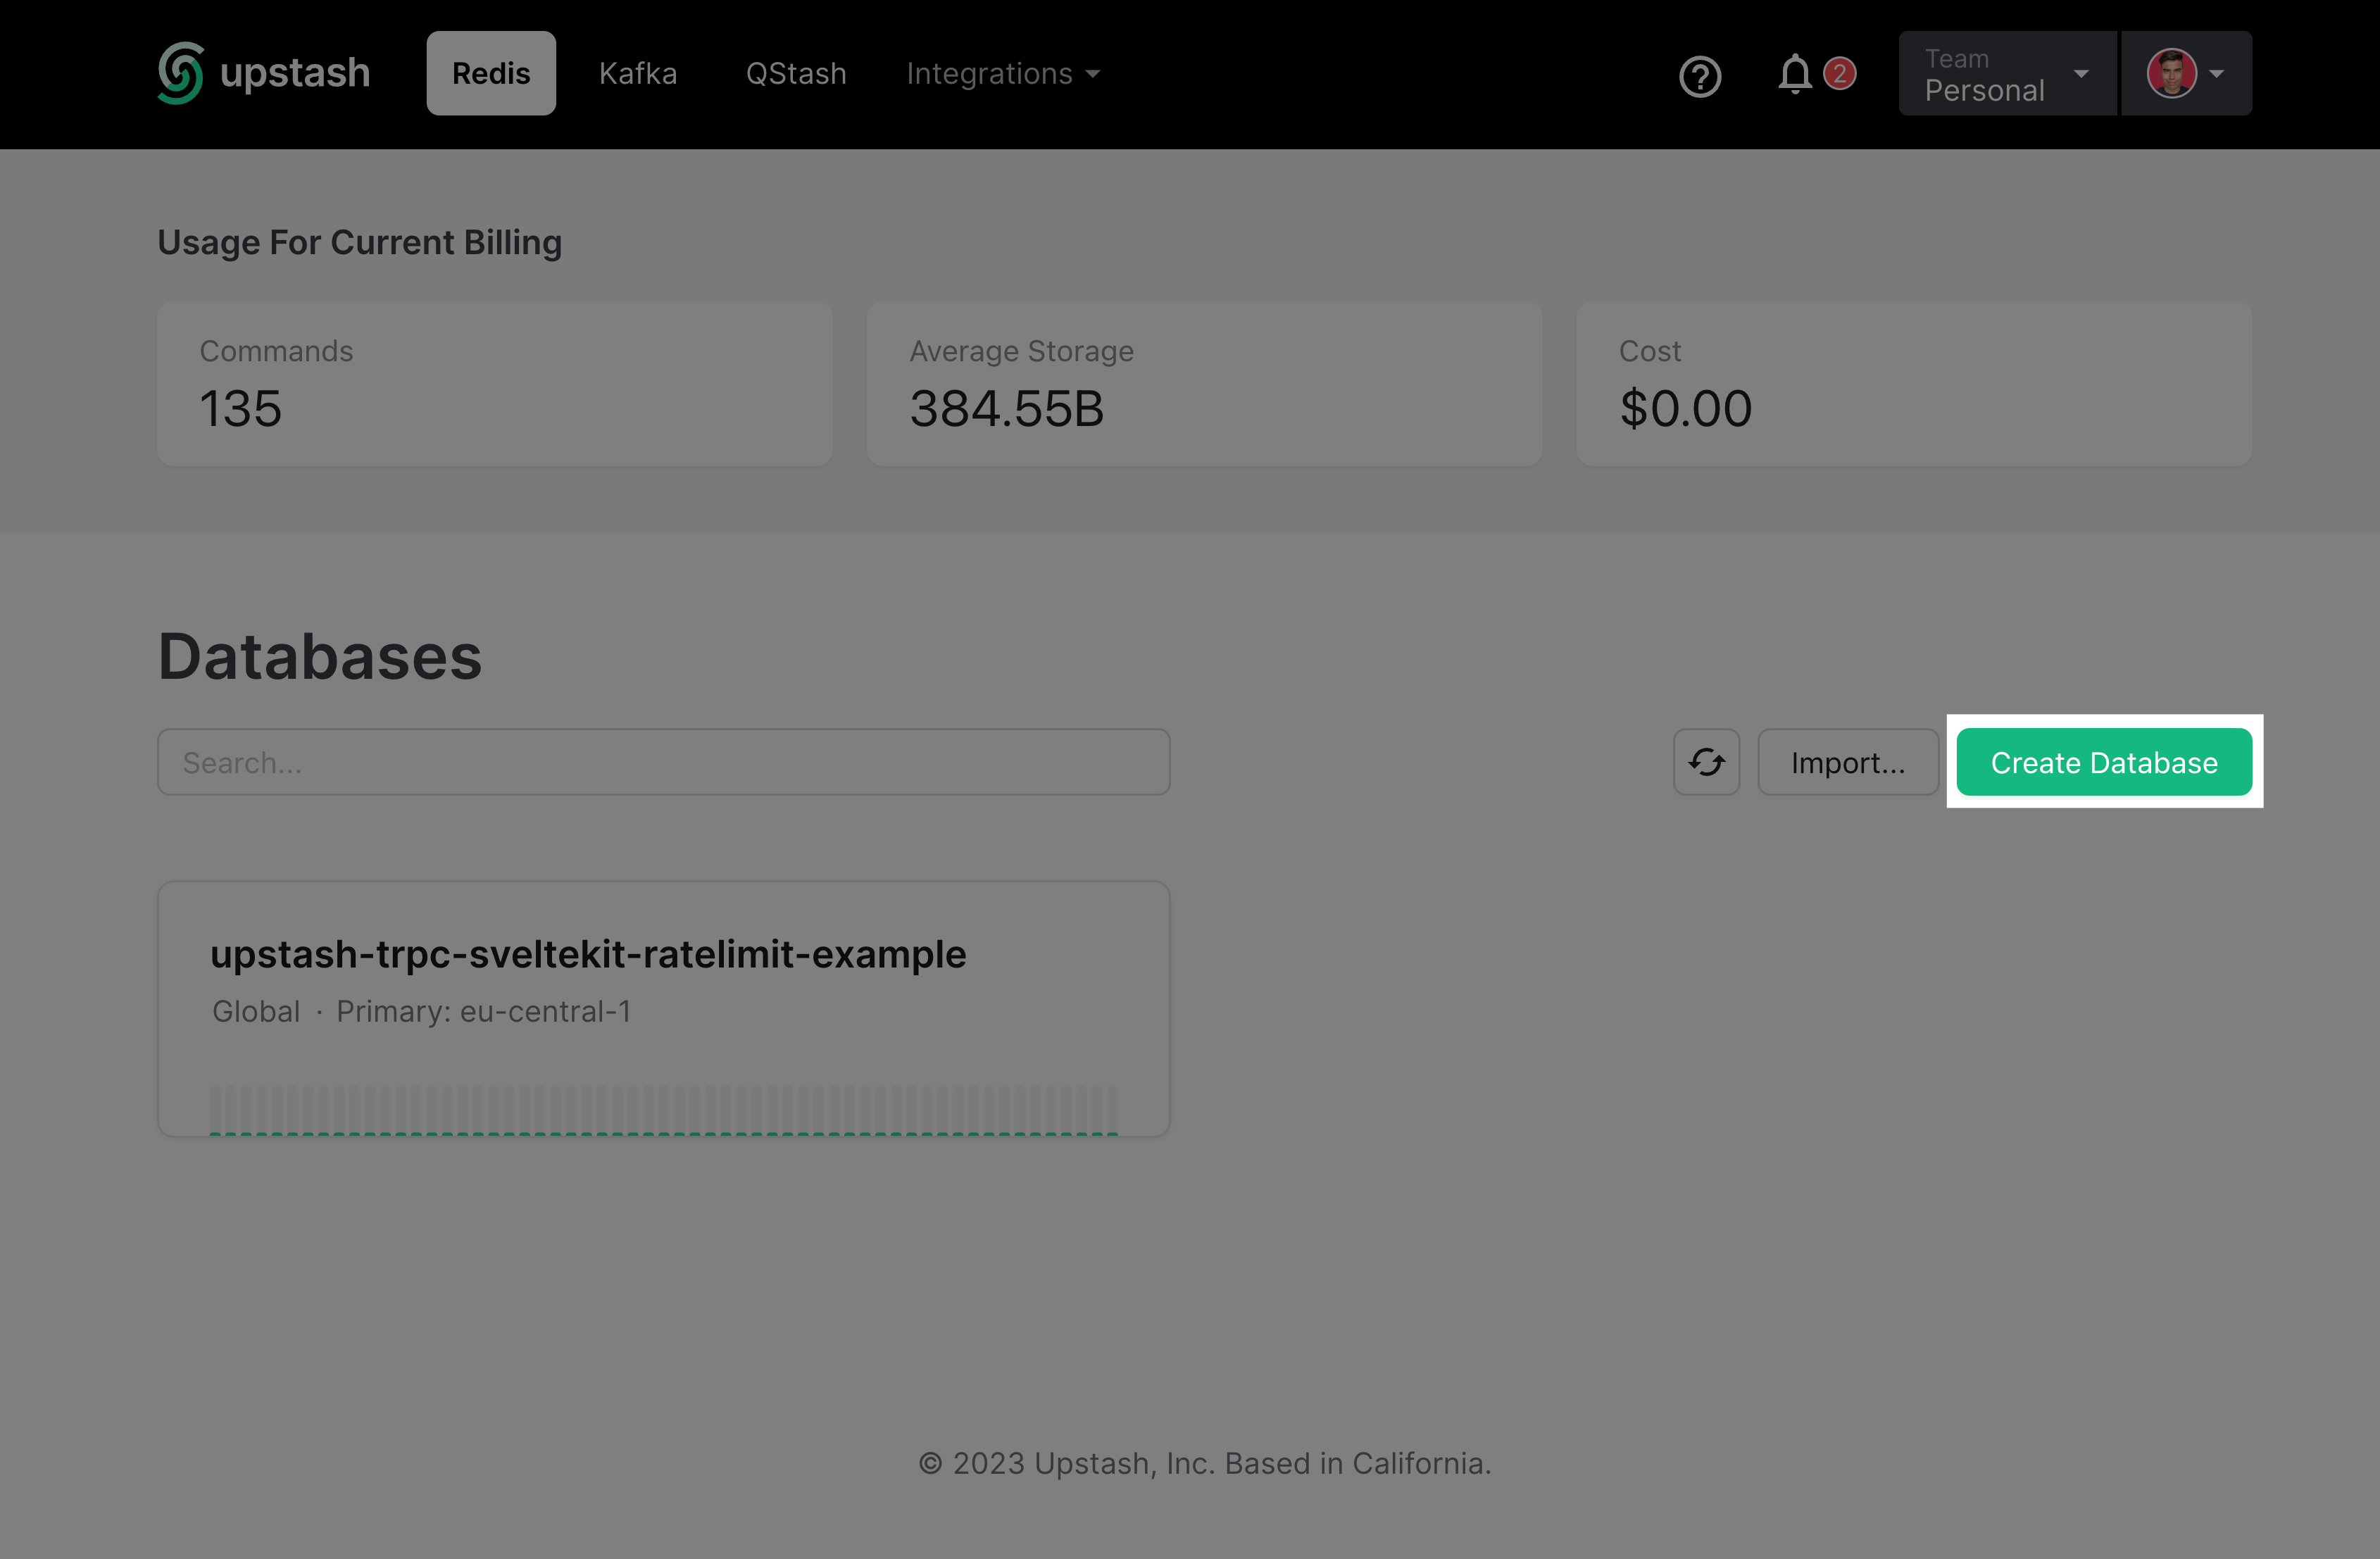
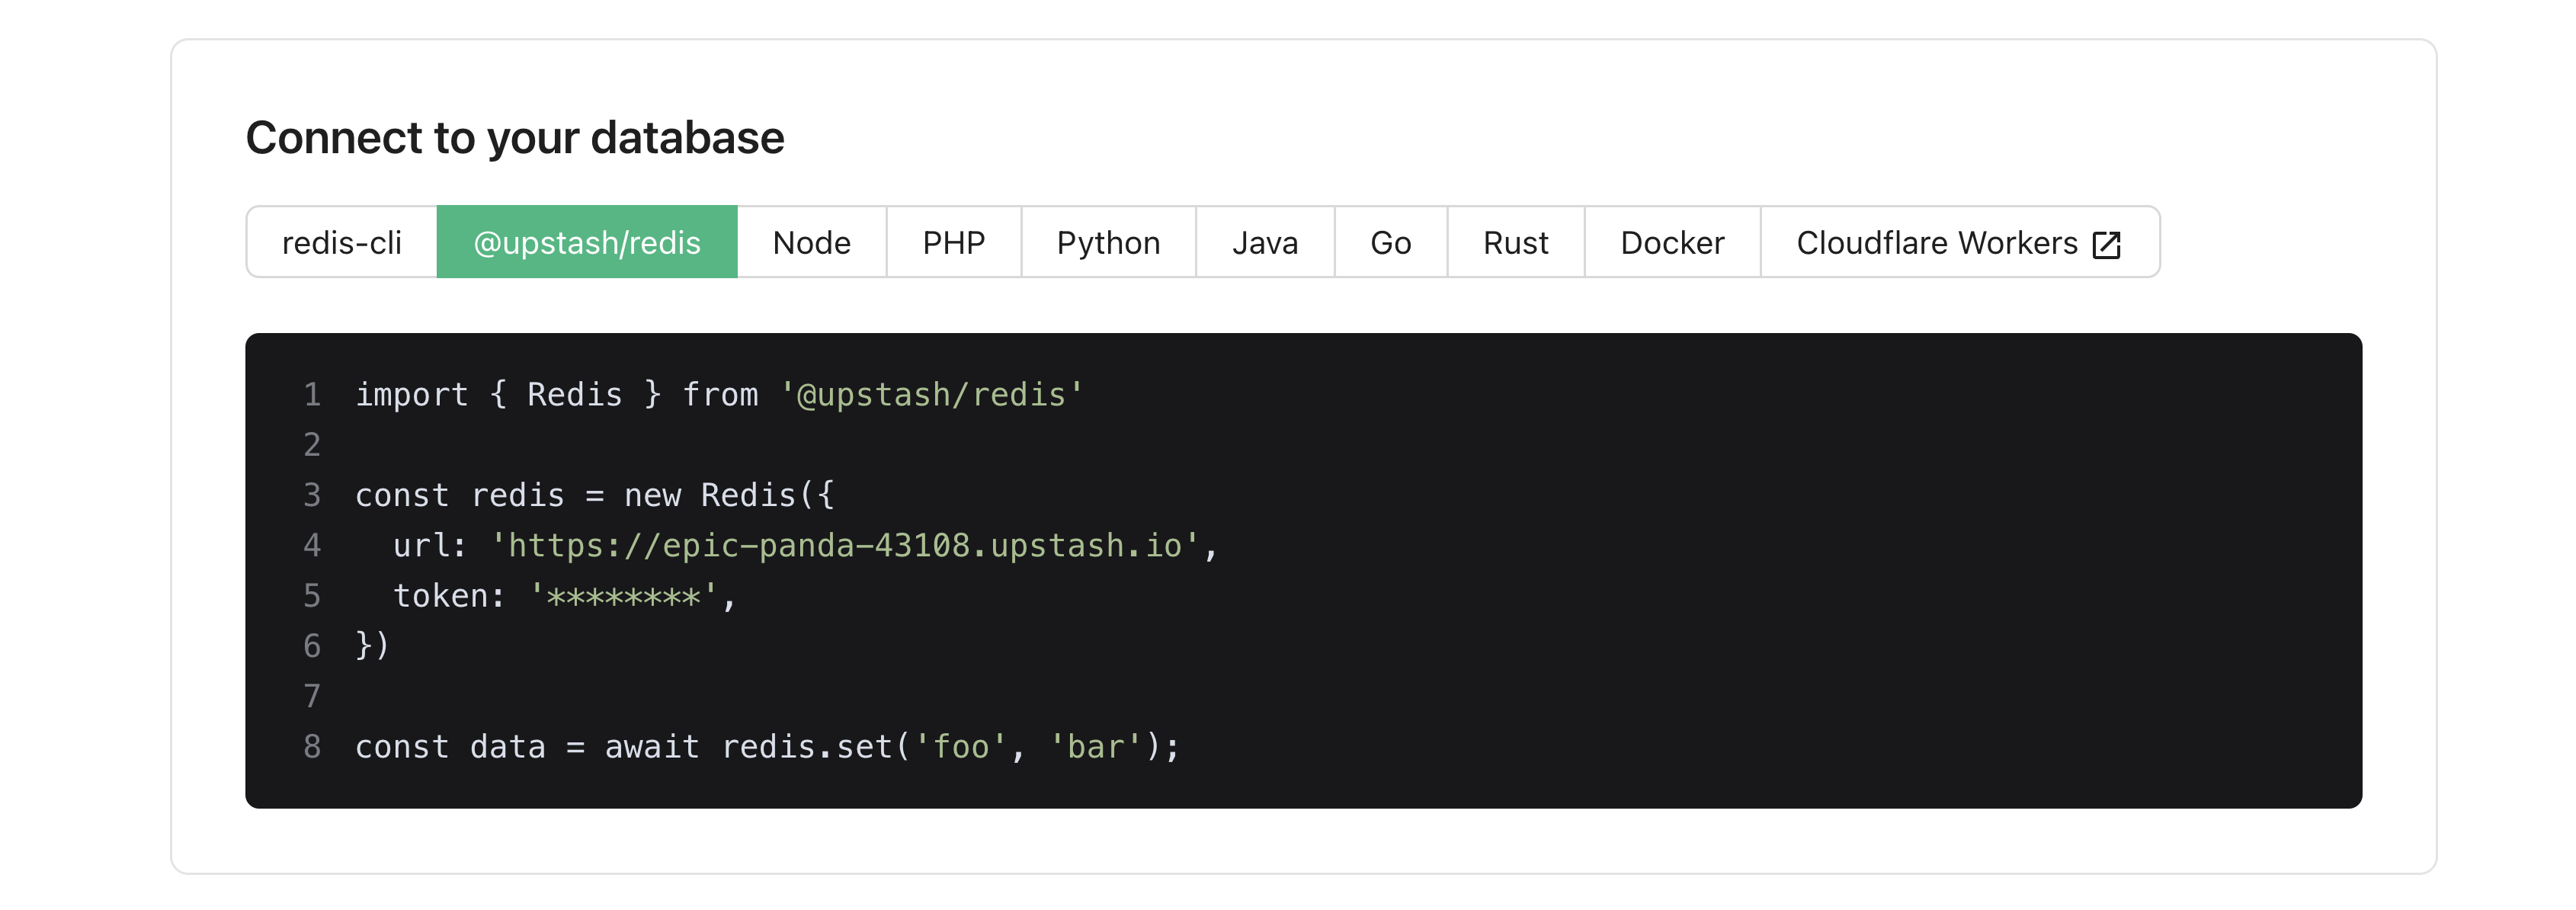
Once you're in the dashboard, all you need to do is create a new database and copy the environment variables.

Now add these variables to your .env file. And add the following to src/lib/server/upstash/index.ts.
	import { UPSTASH_REDIS_REST_TOKEN, UPSTASH_REDIS_REST_URL } from '$env/static/private';
import { Redis } from '@upstash/redis';

export const upstashClient = new Redis({
	url: UPSTASH_REDIS_REST_URL,
	token: UPSTASH_REDIS_REST_TOKEN
});
Now remember when we configured Lucia, we told it to use the upstash adapter for sessions. This is where we tell Lucia how to handle sessions.
	import { lucia } from 'lucia';
import { upstash } from '@lucia-auth/adapter-session-redis';
import { dev } from '$app/environment';
import { sveltekit } from 'lucia/middleware';
import { upstashClient } from '../upstash';
import { planetscale } from '@lucia-auth/adapter-mysql';
import { ps } from '../planetscale';

export enum PROVIDER_ID {
	EMAIL = 'email'
}

export const auth = lucia({
	adapter: {
		user: planetscale(ps, {
			user: 'users',
			key: 'keys',
			session: null
		}),
		// Instruct Lucia to use Upstash Redis for sessions
		session: upstash(upstashClient)
	},
	middleware: sveltekit(),
	env: dev ? 'DEV' : 'PROD',
	getUserAttributes: (data) => {
		return {
			userId: data.id,
			email: data.email
		};
	}
});

export type Auth = typeof auth;
Lucky for us, Lucia has an Upstash Redis adapter out of the box. So all we need to do is import it and pass it the Upstash client.
Now that was easy!
Creating the routes
Now that we have Lucia configured, we can create our routes.
Create the following folders in src/routes. Don't worry about any files for now, we'll go over them in a bit.
src/routes/authsrc/routes/auth/signinsrc/routes/auth/signup
src/routes/app
Tip: Having certain "features" under the same folder name or group makes it easy to manage when doing redirects and protecting routes.
Creating the signin page
Finally, we can do some front-end work! Let's start with the signin page.
Create a new file in src/routes/auth/signin/+page.svelte. I'm going to omit the styling for now, and focus on the functionality — but you can find the full code in the example repository.
	<script lang="ts">
	import { enhance } from '$app/forms';
	import { Button, Input, Label, PasswordInput } from '$lib/components/common';
	import type { ActionData } from './$types';

	export let form: ActionData;

	let loading = false;
	let email = '';
	let password = '';
</script>

<form
	method="POST"
	use:enhance={() => {
		loading = true;

		return async ({ update }) => {
			loading = false;

			update();
		};
	}}
>
	{#if form && form.error}
		<div class="text-center p-2 bg-red-200 text-red-900 rounded-sm mb-4 text-sm">
			Error: {form.error}
		</div>
	{/if}

	<div class="grid gap-2.5">
		<div class="grid gap-1">
			<Label for="email">Email</Label>
			<Input
				bind:value={email}
				name="email"
				placeholder="Email"
				type="email"
				autoCapitalize="none"
				autoComplete="email"
				autoCorrect="off"
				required={true}
			/>
		</div>

		<div class="grid gap-1">
			<Label for="password">Password</Label>
			<PasswordInput name="password" placeholder="Password" bind:value={password} />
		</div>

		<div class="col-span-full mt-6">
			<Button type="submit" class="w-full" disabled={loading}>
				{#if loading}
					Loading...
				{:else}
					Sign in
				{/if}
			</Button>
		</div>
	</div>
</form>
There's not much too it, the interesting part is the use:enhance action. This will progressively enhance the form, and allow us to show a loading state.
Handling the signin request
SvelteKit makes it incredibly easy to handle POST requests. All we need to do is create a file +page.server.ts in the same directory as the +page.svelte file and export a actions object with at least a default property.
	import { fail, redirect } from '@sveltejs/kit';
import type { PageServerLoad, Actions } from './$types';
import { PROVIDER_ID, auth } from '$lib/server';
import { LuciaError } from 'lucia';

export const actions = {
	/* our actions here */
};
Let's explore the key elements in this part of the file:
We've imported the PROVIDER_ID enum and auth from src/lib/server/auth, which we created earlier. This auth object contains all the methods we need to manage users and sessions.
Now let's take a look at the actions object. We can get the form data from the request object, and do some basic housekeeping.
	actions = {
    default: async ({ request, locals }) => {
        const formData = await request.formData();
        const email = formData.get("email") as string;
        const password = formData.get("password") as string;
        const fields = [email, password];

        if (fields.some(field => !field)) {
            return fail(400, {
                error: "All fields are required"
            });
        }
Next, we'll try to sign in the user. If the user doesn't exist, or the password is incorrect, Lucia will throw an error. We've prepared for this event by catching the error and returning a 400 response along with an error message.
	try {
	const user = await auth.useKey(PROVIDER_ID.EMAIL, email.toLowerCase(), password);

	const session = await auth.createSession({
		userId: user.userId,
		attributes: {}
	});

	locals.auth.setSession(session);
} catch (err) {
	if (
		err instanceof LuciaError &&
		(err.message === 'AUTH_INVALID_KEY_ID' || err.message === 'AUTH_INVALID_PASSWORD')
	) {
		return fail(400, {
			error: 'Incorrect username of password'
		});
	}

	return fail(400, {
		error: 'An unknown error occurred'
	});
}
If the user exists and the password is correct, we'll create a new session.
And finally, we'll redirect the user to the dashboard.
return redirect('/app');
As you can probably tell, Lucia abstracts away a lot of the complexity of authentication. All we need to do is call the right methods, and Lucia will handle the rest.

No need to, hash passwords, create sessions, or manage cookies. Lucia does it all for us. And it's all type-safe!
Creating the signup page
Create a new file in src/routes/auth/signup/+page.svelte.
The signup page is very similar to the signin page, so there's not much to explain here. The only difference is that we're asking for a password confirmation.
	<script lang="ts">
	import { enhance } from '$app/forms';
	import { Button, Input, Label, PasswordInput } from '$lib/components/common';
	import type { ActionData } from './$types';

	export let form: ActionData;

	let loading = false;
	let email = '';
	let password = '';
	let passwordConfirmation = '';
</script>

<form
	method="POST"
	use:enhance={() => {
		loading = true;

		return async ({ update }) => {
			loading = false;

			update();
		};
	}}
>
	{#if form && form.error}
		<div class="text-center p-2 bg-red-200 text-red-900 rounded-sm mb-4 text-sm">
			Error: {form.error}
		</div>
	{/if}

	<div class="grid gap-2.5">
		<div class="grid gap-1">
			<Label for="email">Email</Label>
			<Input
				bind:value={email}
				name="email"
				placeholder="Email"
				type="email"
				autoCapitalize="none"
				autoComplete="email"
				autoCorrect="off"
				required={true}
			/>
		</div>

		<div class="grid gap-1">
			<Label for="password">Password</Label>
			<PasswordInput name="password" placeholder="Password" bind:value={password} />
		</div>

		<div class="grid gap-1">
			<Label for="passwordConfirmation">Confirm password</Label>
			<PasswordInput
				name="passwordConfirmation"
				placeholder="Repeat password"
				bind:value={passwordConfirmation}
			/>
		</div>

		<div class="col-span-full mt-6">
			<Button type="submit" class="w-full" disabled={loading}>
				{#if loading}
					Loading...
				{:else}
					Sign in
				{/if}
			</Button>
		</div>
	</div>
</form>
Handling the signup request
Create a new file in src/routes/auth/signup/+page.server.ts.
For the signup we will need to use a similar pattern as with our signup form but there will be few differences starting from data retrieval from the form, field's validation up to the point of creating the user and handling already existing users.
The imports are the same as with the signin page, so we'll skip that part.
We'll start by getting the form data from the request object, and do some basic housekeeping. We'll also check if the passwords match.
	const formData = await request.formData();
const email = formData.get('email') as string;
const password = formData.get('password') as string;
const passwordConfirmation = formData.get('passwordConfirmation') as string;

const fields = [email, password, passwordConfirmation];

if (fields.some((field) => !field)) {
	return fail(400, {
		error: 'All fields are required'
	});
}

if (password !== passwordConfirmation) {
	return fail(400, {
		error: 'Passwords do not match'
	});
}
Next, we'll try to find the user by email using Drizzle ORM. If the user exists, we'll return a 400 response along with an error message.
	try {
    const user = await db.query.users.findFirst({
        where: eq(schema.users.email, email.toLowerCase()),
    });

    if (user) {
        return fail(400, {
            error: "User with this email already exists"
        });
    }
If the user doesn't exist, we'll create a new user using Lucia.
	const newUser = await auth.createUser({
	key: {
		providerId: PROVIDER_ID.EMAIL,
		providerUserId: email.toLowerCase(),
		password: password
	},
	attributes: {
		email
	}
});
And finally, we'll create a new session and redirect the user to the dashboard.
	const session = await auth.createSession({
	userId: newUser.userId,
	attributes: {}
});

locals.auth.setSession(session);
Bonus: Creating the signout page
While we're at it, let's create an endpoint to sign out the user. Create a new file in src/routes/auth/signout/+server.ts.
And add the following code:
	import { auth } from '$lib/server';
import type { RequestHandler } from './$types';

export const POST: RequestHandler = async ({ locals }) => {
	const session = await locals.auth.validate();

	if (!session) {
		return new Response(null, {
			status: 400
		});
	}

	// Invalidate session or alternatively, you can delete all sessions: await auth.invalidateAllUserSessions(session.userId);
	await auth.invalidateSession(session.sessionId);

	// Remove the cookie.
	locals.auth.setSession(null);

	return new Response(null, {
		status: 200
	});
};
Again Lucia has our back by making it incredibly easy to invalidate sessions. All we need to do now is call this endpoint when the user clicks the sign out button.
	<script lang="ts">
	import { goto } from '$app/navigation';
	import { Button } from '$lib/components/common';

	async function handleSignOut() {
		const response = await fetch('/auth/signout', {
			method: 'POST',
			headers: {
				'Content-Type': 'application/json'
			}
		});

		if (response.ok) {
			goto('/auth/signin', {
				replaceState: true,
				invalidateAll: true
			});
		}
	}
</script>

<Button onclick={handleSignOut}>Sign out</Button>